解決方法之一在windows上安裝虛擬機,然后再虛擬機上安裝linux操作系統,如centos,ubuntu等,然后再其上面安裝redis最新版本。這個有點麻煩,如果不想如此麻煩,該怎么做呢?
WSL 是由 Windows 內核團隊與 Canonical 合作設計和開發的,可以讓 Windows 10 下的開發者們在擁有 Windows 中那些強力支持之外,還能使用 Linux 下豐富的開發環境與工具,而不用啟動到另外的操作系統或者使用虛擬機。這絕對是一個“來自開發者,服務開發者”的 Windows 10 特色,它的目的是讓開發者們每天的開發工作都變得順暢而便捷。
本文以centos為例,進行演示
安裝前準備工作
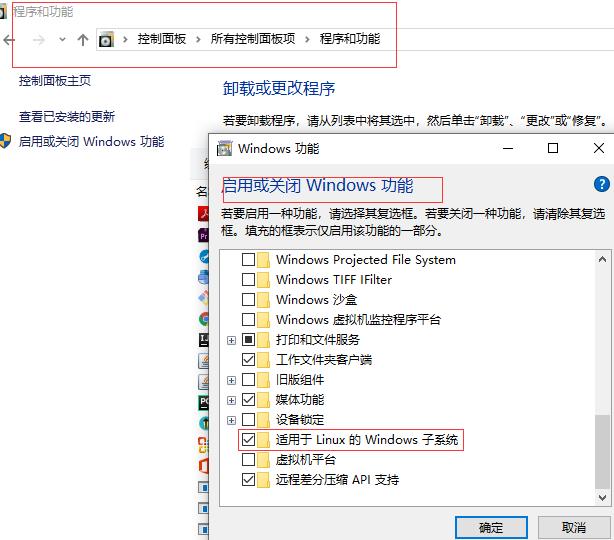
1. window10 下面安裝centos
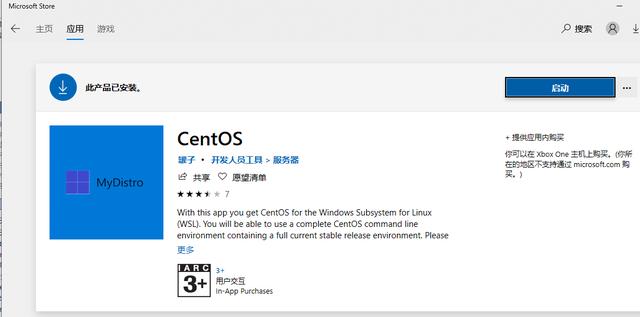
安裝步驟就按照提示進行即可
2.centos 安裝redis最新版本5.0.5
2.1 進入centos,安裝wget
- rpm -qa|grep "wget"
2.2 安裝
- yum -y install wget
2.3 下載redis最新包
- wget http://download.redis.io/releases/redis-5.0.5.tar.gz
2.4 解壓
- tar xzf redis-5.0.5.tar.gz
我是放到/usr/local目錄下的
2.5 安裝依賴
- yum groupinstall 'Development Tools'
- yum install gcc
- yum install gcc-c++
2.6 編譯
進入redis-5.0.5 目錄
- make
報錯:
- fatal error: jemalloc/jemalloc.h: No such file or directory
處理報錯
- cd deps; make hiredis lua jemalloc linenoise
進入redis-5.0.5 目錄,重新編譯,安裝
- make
- make install
安裝成功
- Hint: It's a good idea to run 'make test'
- INSTALL install
- INSTALL install
- INSTALL install
- INSTALL install
- INSTALL install
2.7 修改redis.conf配置文件
- protected-mode no # 關閉保護模式
- daemonize yes # 守護進程模式開啟
- port 6381
2.8 啟動redis
此時/usr/local/bin下面有redis-server,redis-cli,啟動redis-server
- /usr/local/bin/redis-server redis.conf
2.9 驗證redis
進入/usr/local/bin目錄
- redis-cli -h 127.0.0.1 -p 6381
執行info
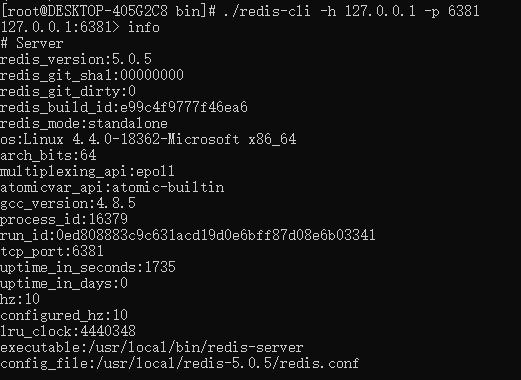
安裝成功
3.從window10上進行測試
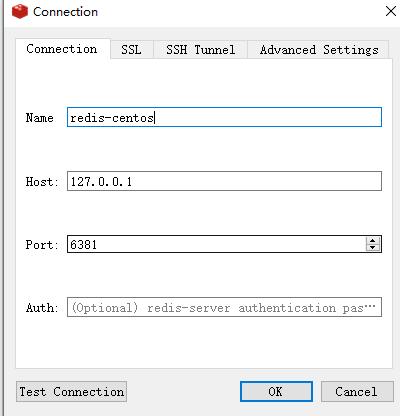
設置key,在centos客戶端可以獲取到。