Vue Router 是在 Vue.js 單頁應用程序中創建路由的事實標準。但是,你是否知道,除了使用它將路由映射到頁面組件之外,還可以使用它來組合頁面布局?這是一個有趣的建議。讓我們看看如何實現。
該教程從基礎開始,介紹了Vue Router的概念,如何配置路由以及如何使用組合式API。它還介紹了如何在Vue Router中使用組合式API來創建布局。教程還包括如何使用路由鉤子函數和路由元信息來控制布局。
Vue Router 是在 Vue.js 單頁應用程序中創建路由的事實標準。但是,你是否知道,除了使用它將路由映射到頁面組件之外,還可以使用它來組合頁面布局?這是一個有趣的建議。讓我們看看如何實現。
假設我們正在構建一個博客,在該博客中,某些頁面可能在主要內容的兩側都有側邊欄:
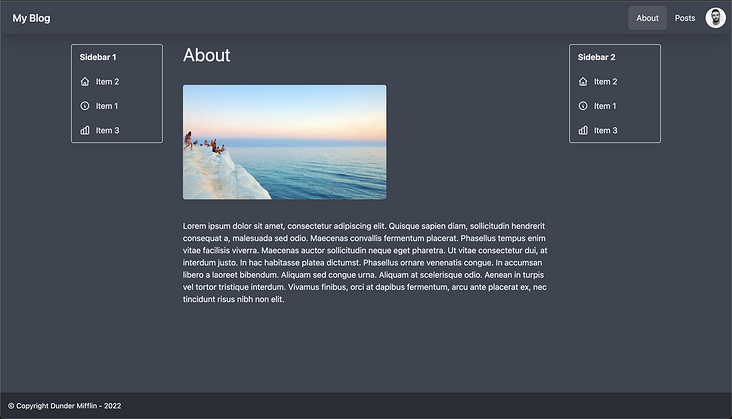
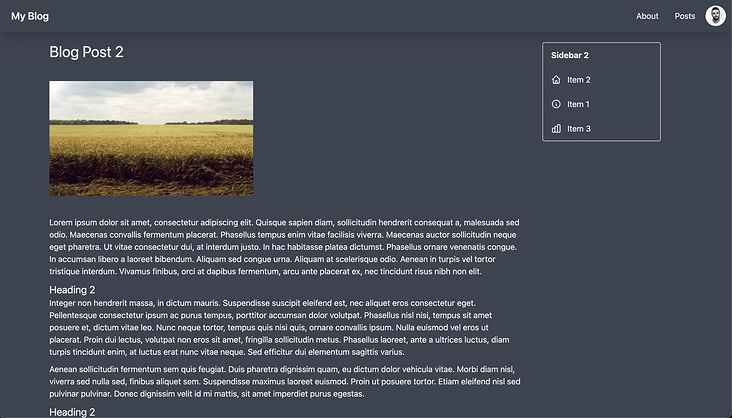
其他頁面只需要在內容旁邊放置一個側邊欄,而且主內容前后的位置可以變化。
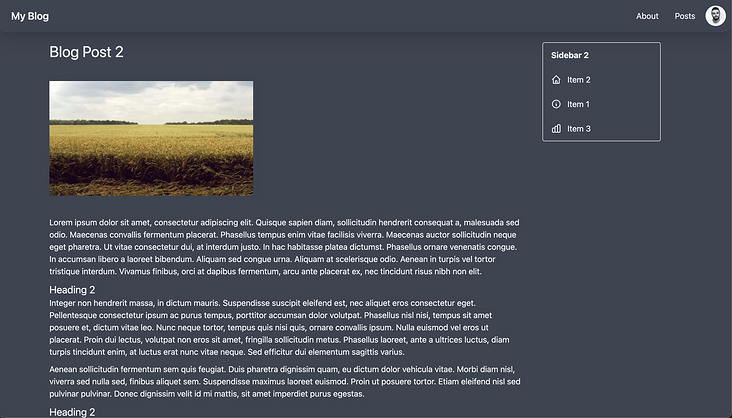
而其他頁面則根本不需要側邊欄。

我們該如何完成這個任務?選項1是為側邊欄創建組件,并根據需要在每個頁面中包含它們。例如, AboutShow.vue 將獲得一個類似于以下內容的路由記錄:
// router/index.js
{
    path: '/about',
    component: () => import('../pages/AboutShow.vue')
},
而相應的頁面組件可能是這樣的:
// *AboutShow.vue
<template>
    <div class="flex ...">
        <SidebarOne />
        <main>....</main>
        <SidebarTwo />
    </div>
</template>

<script setup>
    import SidebarOne from "@/components/SidebarOne"
    import SidebarTwo from "@/components/SidebarTwo"
</script>*
無論如何,關于頁面始終會與側邊欄相耦合。在大多數情況下,這可能并不是什么大問題。然而,讓我們考慮一種替代方法,即在路由器級別而不是頁面級別組成布局。
命名視圖
為了實現這一點,我們將為路由記錄提供 components? (復數)選項,而不是 component (單數)選項:
{
  path: '/about',
  components: {
    default: () => import('@/pages/AboutShow.vue'),
    LeftSidebar: () => import('@/components/SidebarOne.vue'),
    RightSidebar: () => import('@/components/SidebarTwo.vue'),
  },
},
在這里,我們定義了關于路由應該包括一個默認組件,即關于頁面。這就是將顯示在RouterView?組件中。但是,它還應該包括一個 LeftSidebar? 組件,該組件映射到 SidebarOne? ,以及一個 RightSidebar? 組件,該組件映射到 SidebarTwo 。
現在,為了讓 LeftSidebar? 和 RightSidebar? 組件知道在哪里顯示,我們必須使用額外的路由器視圖,稱為命名視圖,以及我們的默認路由器視圖。我們還可以將路由器視圖包裝在帶有一些 Tailwind? 類的 div 中,以便美觀地布局。
<!-- App.vue -->
<template>
<!--...-->
<div class="sm:flex container p-5 mx-auto content justify-betweenflex-wrap">
    <RouterView class="view main-content w-full order-2"></RouterView>
    <RouterView name="LeftSidebar" class="view order-1 w-full"></RouterView>
    <RouterView name="RightSidebar" class="view order-3 w-full"></RouterView>
</div>
<!--...-->
</template>
請注意,新的路由器視圖具有與我們提供給路由記錄的組件屬性的鍵相匹配的名稱屬性( LeftSidebar? 和 RightSidebar )
最后,這一次頁面本身可以完全排除側邊欄,結果是一樣的。
// *AboutShow.vue
<template>
    <div>
        <main>....</main>
    </div>
</template>
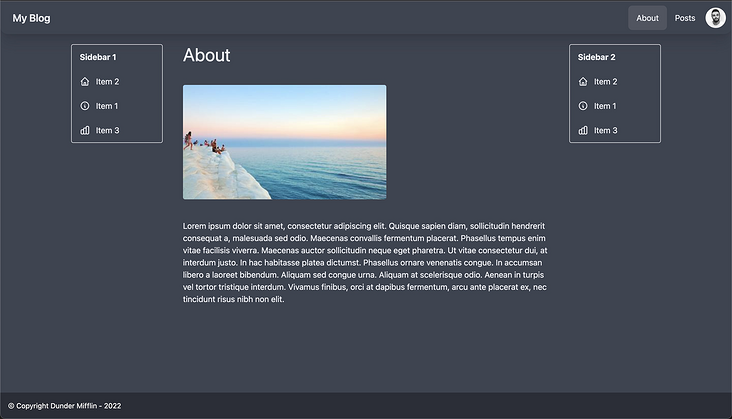
這可能看起來有點繞,但現在很酷的是,有了這些額外的命名視圖,我們可以在任何新的路由記錄上靈活地添加一個或兩個側邊欄。
側邊欄
{
  path: '/posts/:id',
  components: {
    default: () => import('@/pages/PostShow.vue'),
    RightSidebar: () => import('@/components/SidebarTwo.vue'),
  },
},
左側的側邊欄
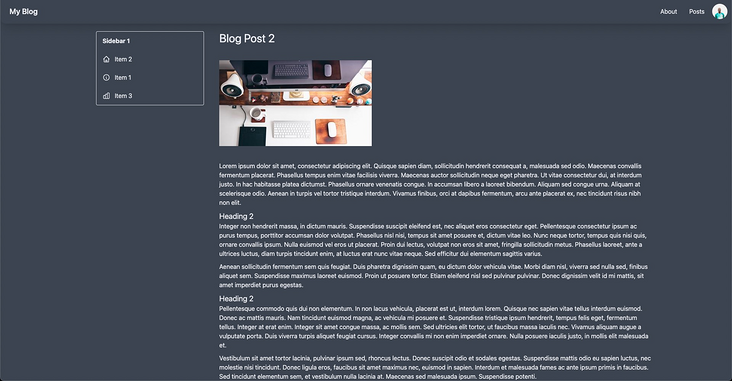
//router/index.js
{
    path: '/posts/:id',
    components: {
        default: () => import('@/pages/PostShow.vue'),
        LeftSidebar: () => import('@/components/SidebarOne.vue'),
},
右側邊欄

//router/index.js
{
    path: '/posts/',
    components: {
        default: () => import('@/pages/PostIndex.vue'),
        RightSidebar: () => import('@/components/SidebarOne.vue'),
},
原文:https://vueschool.io/articles/vuejs-tutorials/composing-layouts-with-vue-router/


