Spring Boot 內(nèi)嵌 Web 容器啟動原理,驚爆你的眼球!
一、spring boot內(nèi)嵌web容器介紹
Spring Boot 支持以下內(nèi)嵌的 Web 容器:
- Tomcat:Spring Boot 默認使用的 Web 容器,也是最常用的選擇。Tomcat 是一個流行的開源 Servlet 容器,具有廣泛的應(yīng)用和良好的性能。
- Jetty:另一個常用的 Web 容器,它具有輕量級和高效的特點。Spring Boot 也提供了對 Jetty 的支持。
- Undertow:一個高性能的 Web 容器,特別適合處理高并發(fā)和大規(guī)模的應(yīng)用。Spring Boot 也可以與 Undertow 集成。
這些內(nèi)嵌的 Web 容器都可以在 Spring Boot 應(yīng)用中直接使用,無需額外的安裝和配置。Spring Boot 會自動根據(jù)項目的依賴和配置來選擇合適的 Web 容器,并進行相應(yīng)的配置和啟動。
你可以根據(jù)項目的需求和特點選擇適合的 Web 容器。例如,如果對性能有較高要求,可以考慮使用 Undertow;如果需要與現(xiàn)有 Tomcat 環(huán)境集成,則可以選擇 Tomcat。
二、如何切換spring boot內(nèi)嵌web容器
以jetty為例,我們只需要將默認的tomcat依賴排除,并將jetty依賴引入,即可完成內(nèi)嵌web容器的切換。
<dependency>
<groupId>org.springframework.boot</groupId>
<artifactId>spring-boot-starter-web</artifactId>
<!--1、移除tomcat依賴(exclusions:排除)-->
<exclusions>
<exclusion>
<artifactId>spring-boot-starter-tomcat</artifactId>
<groupId>org.springframework.boot</groupId>
</exclusion>
</exclusions>
</dependency>
<!--2、加入jetty依賴-->
<dependency>
<groupId>org.springframework.boot</groupId>
<artifactId>spring-boot-starter-jetty</artifactId>
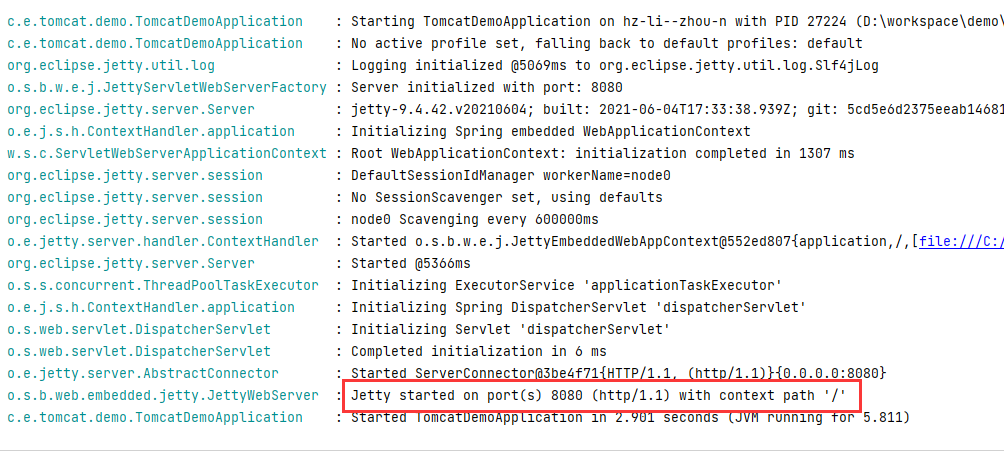
</dependency>啟動項目,我們可以看到,jetty確實啟動了。
三、spring boot內(nèi)嵌web容器啟動原理
Spring Boot 內(nèi)嵌 Web 容器的啟動原理可以概括為以下幾個步驟:
- 依賴注入:Spring Boot 在啟動時,會自動掃描項目中的依賴,并將相關(guān)的 Web 容器依賴注入到應(yīng)用程序中。
- 容器初始化:Spring Boot 會根據(jù)配置文件或默認設(shè)置,初始化所選的內(nèi)嵌 Web 容器。這包括創(chuàng)建容器實例、設(shè)置端口號、上下文路徑等。
- 組件掃描和注冊:Spring Boot 會掃描項目中的組件(如控制器、服務(wù)等),并將它們注冊到 Web 容器中,以便處理 HTTP 請求。
- 配置加載:Spring Boot 會加載應(yīng)用程序的配置信息,包括端口號、上下文路徑、靜態(tài)資源路徑等,并將這些配置應(yīng)用到 Web 容器中。
- 啟動容器:一旦容器初始化完成并配置好,Spring Boot 會啟動內(nèi)嵌的 Web 容器,使其開始監(jiān)聽指定的端口,并準備處理 HTTP 請求。
- 應(yīng)用程序運行:此時,應(yīng)用程序已經(jīng)在所選的內(nèi)嵌 Web 容器中運行,可以通過訪問指定的端口來訪問應(yīng)用程序的功能。
相關(guān)源碼如下:
SpringApplication類createApplicationContext方法,根據(jù)當(dāng)前web應(yīng)用的類型選擇匹配的應(yīng)用上下文類型,這邊會創(chuàng)建AnnotationConfigServletWebServerApplicationContext。
protected ConfigurableApplicationContext createApplicationContext() {
		Class<?> contextClass = this.applicationContextClass;
		if (contextClass == null) {
			try {
				switch (this.webApplicationType) {
				case SERVLET:
					contextClass = Class.forName(DEFAULT_SERVLET_WEB_CONTEXT_CLASS);
					break;
				case REACTIVE:
					contextClass = Class.forName(DEFAULT_REACTIVE_WEB_CONTEXT_CLASS);
					break;
				default:
					contextClass = Class.forName(DEFAULT_CONTEXT_CLASS);
				}
			}
			catch (ClassNotFoundException ex) {
				throw new IllegalStateException(
						"Unable create a default ApplicationContext, please specify an ApplicationContextClass", ex);
			}
		}
		return (ConfigurableApplicationContext) BeanUtils.instantiateClass(contextClass);
	}
AnnotationConfigServletWebServerApplicationContext類createWebServer方法,會創(chuàng)建我們配置的web容器。
private void createWebServer() {
		WebServer webServer = this.webServer;
		ServletContext servletContext = getServletContext();
		if (webServer == null && servletContext == null) {
			ServletWebServerFactory factory = getWebServerFactory();
			this.webServer = factory.getWebServer(getSelfInitializer());
			getBeanFactory().registerSingleton("webServerGracefulShutdown",
					new WebServerGracefulShutdownLifecycle(this.webServer));
			getBeanFactory().registerSingleton("webServerStartStop",
					new WebServerStartStopLifecycle(this, this.webServer));
		}
		else if (servletContext != null) {
			try {
				getSelfInitializer().onStartup(servletContext);
			}
			catch (ServletException ex) {
				throw new ApplicationContextException("Cannot initialize servlet context", ex);
			}
		}
		initPropertySources();
	}
這邊使用了工廠模式,不同的web容器有自己的工廠。
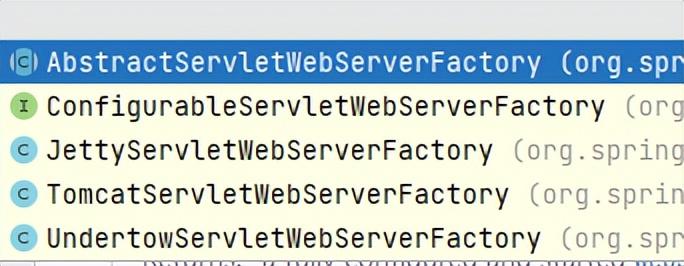
這邊我們以TomcatServletWebServerFactory為例,看下它的getWebServerFactory方法。
public WebServer getWebServer(ServletContextInitializer... initializers) {
		if (this.disableMBeanRegistry) {
			Registry.disableRegistry();
		}
		Tomcat tomcat = new Tomcat();
		File baseDir = (this.baseDirectory != null) ? this.baseDirectory : createTempDir("tomcat");
		tomcat.setBaseDir(baseDir.getAbsolutePath());
		Connector connector = new Connector(this.protocol);
		connector.setThrowOnFailure(true);
		tomcat.getService().addConnector(connector);
		customizeConnector(connector);
		tomcat.setConnector(connector);
		tomcat.getHost().setAutoDeploy(false);
		configureEngine(tomcat.getEngine());
		for (Connector additionalConnector : this.additionalTomcatConnectors) {
			tomcat.getService().addConnector(additionalConnector);
		}
		prepareContext(tomcat.getHost(), initializers);
		return getTomcatWebServer(tomcat);
	}
這邊創(chuàng)建了tomcat容器并初始化,然后返回。