Linux系統安裝Python3環境

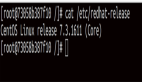
本文基于如下Linux系統版本:

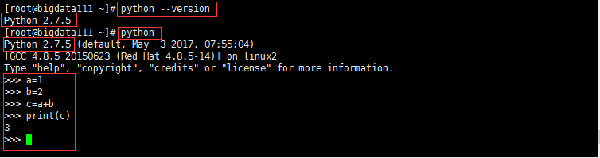
1、默認情況下,Linux會自帶安裝Python,可以運行python --version命令查看,如圖:
我們看到Linux中已經自帶了Python2.7.5。再次運行python命令后就可以使用python命令窗口了(Ctrl+D退出python命令窗口)。
2、查看Linux默認安裝的Python位置
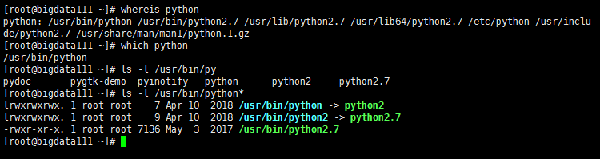
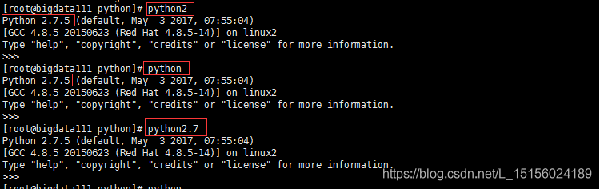
看到/usr/bin/python和/usr/bin/python2都是軟鏈接,/usr/bin/python指向/usr/bin/python2,而/usr/bin/python2最終又指向/usr/bin/python2.7。所以運行python/python2/python2.7是一樣的,如圖:
3、安裝python3
(1)登錄https://www.python.org/downloads/source/,找到對應版本(我們以Python 3.6.5為例)如圖:
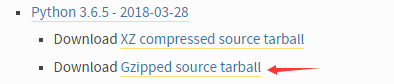
下載Python-3.6.5.tgz
(2)文件上傳
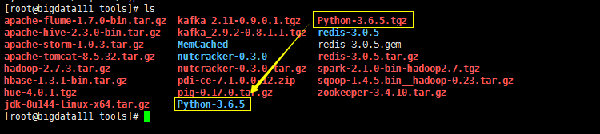
將文件上傳到Linux系統的某個目錄下,根據自己情況上傳,本例上傳到了/root/tools目錄下,如圖:

(3)解壓
執行tar -zxvf Python-3.6.5.tgz命令,將文件解壓到當前目錄,如圖:
(4)準備編譯環境
執行如下命令:
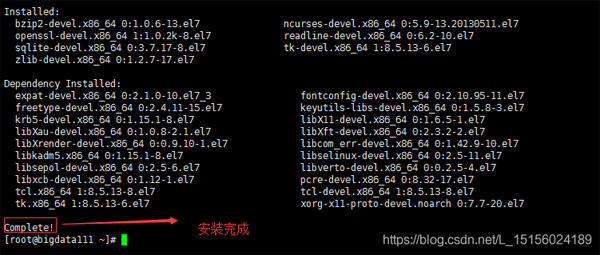
- yum -y install zlib-devel bzip2-devel openssl-devel ncurses-devel sqlite-devel readline-devel tk-devel gcc make
安裝python需要的依賴。成功后(Complete!),如圖:
如果python是3.7版本,還需要安裝libffi-devel。整個編譯過程1分鐘左右。
如果遇到如下問題:
- Loaded plugins: fastestmirror
- 00:00:00
- Could not retrieve mirrorlist http://mirrorlist.centos.org/?release=7&arch=x86_64&repo=os&infra=stock error was
- 14: curl#6 - "Could not resolve host: mirrorlist.centos.org; Unknown error"
- One of the configured repositories failed (Unknown),
- and yum doesn't have enough cached data to continue. At this point the only
- safe thing yum can do is fail. There are a few ways to work "fix" this:
- 1. Contact the upstream for the repository and get them to fix the problem.
- 2. Reconfigure the baseurl/etc. for the repository, to point to a working
- upstream. This is most often useful if you are using a newer
- distribution release than is supported by the repository (and the
- packages for the previous distribution release still work).
一般是不能連接外網,每個情況不一樣,我的解決方案,執行如下命令
- vi /etc/sysconfig/network-scripts/ifcfg-ens33
每個人的Linux中ifcfg-ens33名稱不一定完全一樣。我的配置如下:
- TYPE=Ethernet
- PROXY_METHOD=none
- BROWSER_ONLY=no
- #BOOTPROTO=none
- DEFROUTE=yes
- IPV4_FAILURE_FATAL=no
- IPV6INIT=yes
- IPV6_AUTOCONF=yes
- IPV6_DEFROUTE=yes
- IPV6_FAILURE_FATAL=no
- IPV6_ADDR_GEN_MODE=stable-privacy
- NAME=ens33
- UUID=296fb7a9-961a-46ea-bc1b-678cca49d40a
- DEVICE=ens33
- ONBOOT=yes
- IPADDR=192.168.189.111
- GATEWAY=192.168.189.2
- NETMASK=255.255.255.0
- DNS1=8.8.8.8
- PREFIX=24
- IPV6_PRIVACY=no
配置好保存,執行service network restart重啟網絡服務。然后再重新執行上面的yum安裝命令即可。
(5)編譯安裝
執行cd Python-3.6.5進入解壓后的Python-3.6.5目錄下,依次執行如下三個命令:
- ./configure --prefix=/root/training/Python-3.6.5
- make
- make install
其中--prefix是Python的安裝目錄,安裝成功后,如圖:
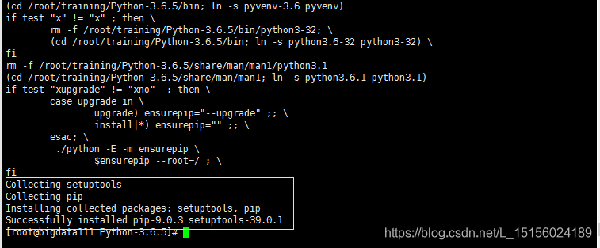
我們看到,同時安裝了setuptools和pip工具。進入到/root/training/Python-3.6.5安裝目錄,如圖:

(6)創建軟鏈接
還記得開始,Linux已經安裝了python2.7.5,這里我們不能將它刪除,如果刪除,系統可能會出現問題。我們只需要按照與Python2.7.5相同的方式為Python3.6.5創建一個軟鏈接即可,我們把軟鏈接放到/usr/local/bin目錄下,如圖:

此時,我們在命令窗口運行python3,如圖:

安裝成功!當然此時還是可以使用Python2.7.5版本(運行python/python2/python2.7即可)。
(7)配置環境變量
配置環境變量主要是能快速使用pip3安裝命令。
執行 vi ~/.bash_profile,打開配置文件,添加如下配置:
- #配置python
- export PYTHON_HOME=/root/training/Python-3.6.5
- export PATH=$PYTHON_HOME/bin:$PATH
保存退出(:wq),執行source ~/.bash_profile命令使配置生效。執行echo命令,查看是否配置成功,如圖: