用一篇短文,帶你進入 QML 的美妙世界
本文轉載自微信公眾號「老吳的嵌入式之旅」,作者吳偉東Jack。轉載本文請聯系老吳的嵌入式之旅公眾號。
大家好,我是老吳。
今天用幾個小例子帶大家快速入門 QML 編程。
0. 什么是 QML?
QML 是一種用于描述應用程序用戶界面的聲明式編程語言,Qt Quick 則是 QML 應用的標準庫。
我為什么選擇學習 QML?
- 易上手;
- 可讀性高;
- 學習資料多,有各種文檔和示例;
- 跨平臺;
- 性能不差,流暢度還行。
1. 如何創建 QML 應用?
舉個栗子:
在 Qt Creator 依次點擊:
-> File -> New File or Project
-> Applications -> Qt Quick Application

然后一路點擊 next 直到 finish 。
修改 main.qml :
- // 文件 main.qml
- import QtQuick 2.12
- import QtQuick.Window 2.12
- Window {
- visible: true
- width: 320
- height: 240
- title: qsTr("Hello World")
- Rectangle {
- width: 320
- height: 240
- color: "green"
- Text {
- anchors.centerIn: parent
- text: "Hello, World!"
- }
- }
- }
這樣就完成了你的第一個 QML 程序,它的作用是在一個綠色的長方形塊上顯示 "Hello World!"。
運行效果:
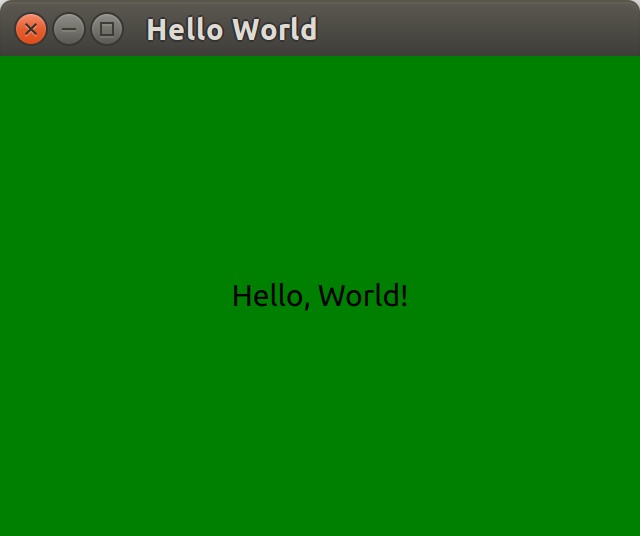
這里的 Window、Rectangle、Text 都是 QML 里的類型,術語 為 QML Type。
進一步了解 QML Type:
The QML Type System
QML Basic Types
QML Object Types
2. 使用 Qt Quick Controls
什么是 Qt Quick Controls?
Qt Quick Controls 就是一組控件,用于在 Qt Quick 中構建完整的界面。
舉個例子:
- // 文件 main.qml
- import QtQuick 2.12
- import QtQuick.Controls 2.12
- ApplicationWindow {
- visible: true
- title: qsTr("Hello World")
- width: 320
- height: 240
- menuBar: MenuBar {
- Menu {
- title: qsTr("File")
- MenuItem {
- text: qsTr("&Open")
- onTriggered: console.log("Open action triggered");
- }
- MenuItem {
- text: qsTr("Exit")
- onTriggered: Qt.quit();
- }
- }
- }
- Button {
- text: qsTr("Hello World")
- anchors.horizontalCenter: parent.horizontalCenter
- anchors.verticalCenter: parent.verticalCenter
- }
- }
這里的 ApplicationWindow 、MenuBar、Button 首先是 QML Type,并且它們是 Qt Quick Controls 里提供的控件。
- ApplicationWindow 是一個通用的窗口控件;
- MenuBar 是一個菜單欄控件;
- Button 是按鍵控件;
運行效果:
進一步了解 Qt Quick Controls:
Qt Quick Layouts - Basic Example
Qt Quick Controls - Gallery
3. 處理用戶輸入
使用 QML 設計界面的一大優點是,
它允許設計人員使用簡單的 JavaScript 表達式定義應用程序對事件的反應。
在 QML 中,我們將事件稱為信號,并且這些信號由信號處理程序處理。
舉個例子:
- // 文件 main.qml
- ApplicationWindow {
- ...
- Rectangle {
- width: 100
- height: 100
- color: "red"
- anchors.verticalCenter: parent.verticalCenter
- Text {
- anchors.centerIn: parent
- text: "Hello, World!"
- }
- TapHandler {
- onTapped: parent.color = "green"
- }
- }
- }
運行效果:
TapHandler 用于響應觸摸屏或者鼠標的點擊,這里我們使用它來處理對綠色方塊的點擊事件。
進一步了事件處理:
Signal and Handler Event System
4. 屬性綁定
什么是屬性綁定?
對象及其屬性構成了 QML 文件中定義的圖形界面的基礎。
QML 允許屬性彼此之間以各種方式綁定,從而實現高度動態的用戶界面。
舉個例子:
- // 文件 main.qml
- ApplicationWindow {
- Rectangle {
- width: 100
- height: 100
- color: "red"
- Rectangle {
- width: parent.width / 2
- height: parent.height / 2
- color: "green"
- }
- }
- }
運行效果:
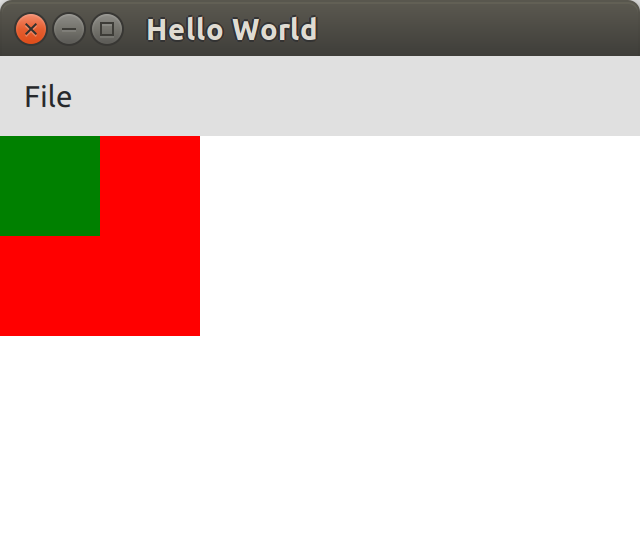
子矩形的長寬綁定了到父矩形的幾何形狀。
如果父矩形的長寬發生變化,則由于屬性綁定,子矩形的長寬將自動更新。
5. 自定義 QML Type
每個 QML 文件都隱式地定義了一個 QML type,這個 QML type 可以在其他 QML 文件中重復使用。
舉個例子:
新建一個 QML 文件 MessageLabel.qml:
- // 文件 MessageLabel.qml
- import QtQuick 2.12
- Rectangle {
- height: 50
- property string message: "debug message"
- property var msgType: ["debug", "warning" , "critical"]
- color: "black"
- Column {
- anchors.fill: parent
- padding: 5.0
- spacing: 2
- Text {
- text: msgType.toString().toUpperCase() + ":"
- font.bold: msgType == "critical"
- font.family: "Terminal Regular"
- color: msgType === "warning" || msgType === "critical" ? "red" : "yellow"
- ColorAnimation on color {
- running: msgType == "critical"
- from: "red"
- to: "black"
- duration: 1000
- loops: msgType == "critical" ? Animation.Infinite : 1
- }
- }
- Text {
- text: message
- color: msgType === "warning" || msgType === "critical" ? "red" : "yellow"
- font.family: "Terminal Regular"
- }
- }
- }
這里可以理解為我們創建了一個名為 MessageLabel 的控件。
引用 MessageLabel:
- // 文件 main.qml
- Window {
- ...
- Column {
- ...
- MessageLabel{
- width: parent.width - 2
- msgType: "debug"
- }
- MessageLabel {
- width: parent.width - 2
- message: "This is a warning!"
- msgType: "warning"
- }
- MessageLabel {
- width: parent.width - 2
- message: "A critical warning!"
- msgType: "critical"
- }
- }
- }
運行效果:
我們很方便地就構造了一個名為 MessageLabel 的控件,用于實現不同等級的 log 打印。
到這里,相信你已經進入了 QML 編程的世界了,請開始你自己的探索之旅吧。