Python自動化辦公之玩轉圖片
本文轉載自微信公眾號「Python七號」,作者somenzz。轉載本文請聯系Python七號公眾號。
有很多非 IT 行業的朋友都在學 Python,他們的目的也很簡單,就是想提高下工作效率,簡單重復的工作希望用 Python 搞定。
因此我準備寫一些 Python 自動化辦公系列相關文章,代碼都是可以在 Python3 上正確運行的,復制下代碼,再調整下細節,就可以使用。
首先發在公眾號上,然后同步到知識星球。
為什么同步到知識星球,因為公眾號的文章修改起來非常麻煩,而知識星球就比較簡單了,這樣文章里的代碼可以不停迭代更新,重要的是有問題還可以一對一進行提問。加入星球的方式后續會公布。
在日常的工作生活中,我們會經常與圖片打交道,比如下載圖片,壓縮圖片,刪除圖片的元數據防止隱私泄漏,拼接長圖,圖片文字識別,加水印等等。
今天就來分享下如何簡單的使用 Python 來玩轉這些操作。
1、下載圖片
下載圖片是最簡單的操作了,無非就是先找到圖片的 url,使用標準庫或者 requests 庫去請求這個 url,然后將得到的數據保存為文件即可。
下面分享三種方法來下載圖片。
方法一,使用標準庫。
- from urllib.request import urlretrieve
- from pathlib import Path
- import ssl
- def urllib_download(img_url, download_path):
- ssl._create_default_https_context = ssl._create_unverified_context
- urlretrieve(img_url, Path(download_path) / 'image1.png')
方法二,使用 requests。
- import requests
- def request_download(img_url, download_path):
- r = requests.get(img_url)
- with open(f'{download_path}/image2.png', 'wb') as f:
- f.write(r.content)
方法二,使用 requests 的流式下載,適用于較大,網速慢,容易下載失敗的圖片。
- import requests
- def requests_chunk_download(img_url, download_path):
- r = requests.get(img_url, stream=True)
- with open(f'{download_path}/image3.png', 'wb') as f:
- for chunk in r.iter_content(chunk_size=32):
- f.write(chunk)
分別下載一個圖片看看結果:
- if __name__ == '__main__':
- img_url = 'https://tinypng.com/images/panda-developing-2x.png'
- download_path = Path('/Users/aaron/tmp/images')
- download_path.mkdir(exist_ok=True)
- urllib_download(img_url,download_path.as_posix())
- request_download(img_url, download_path.as_posix())
- requests_chunk_download(img_url, download_path.as_posix())

三種方法下載圖片的大小是一樣的。
如果自動下載某網站的全部圖片,其實一點也不復雜,無非就是找規律,如何獲取全部圖片的 url,然后循環調用以上三個函數。
獲取圖片 url 可能會涉及正則表達式,關于正則表達式,可以參考前文學會正則表達式,玩弄文本于股掌之中
2、壓縮圖片
有一次我用郵箱向老板發送 5 張圖片時,foxmail 提示我是否啟用 QQ 郵箱的超大附件功能,原來 5 張圖片已經 40+ MB,現在的手機拍攝的真是太清晰了。
不過工作中的圖片能看清楚內容就可以了,完全沒有必要整那么清晰,文件太大,發給老板,老板打開圖片也會卡,體驗非常不好,于是我就想如何使用 Python 來壓縮圖片。
找了很多方法,都不是很理想,有的軟件下載后才發現是付費的,有的在使用時直接導致程序卡死,有的壓縮率不夠需要多次壓縮,有的要求原始圖片大小不能超過 5 M 有的失真有些嚴重。
直到我用了 tinypng 的 api 接口,才發現這真的好用,圖片幾乎不失真,大多都控制在 1 MB 之內,在此分享給大家。
先打開 https://tinypng.com/developers, 在下方輸入你的用戶名和郵箱,就可以獲取一個 API KEY。
然后 pip 安裝一下這個庫:
- pip install tinify
編寫三行代碼就可以對圖片進行壓縮處理了:
- import tinify
- tinify.key = '此處填入你的key'
- tinify.from_file(src_img_path).to_file(dst_img_path)
其中 src_img_path 是原圖片,dst_img_path 是壓縮后的圖片。
比如找個目錄,對文件批量壓縮一下:
- import tinify
- from pathlib import Path
- import os
- tinify.key = '此處填入你的key'
- path = "/Users/aaron/Documents/個人/origin" # 圖片存放的路徑
- for dirpath, dirs, files in os.walk(path):
- for file in files:
- file = Path(dirpath)/Path(file)
- if file.suffix.lower() in ['.jpg','.png','.gif']:
- print("compressing ..."+ file.as_posix())
- tinify.from_file(file.as_posix()).to_file(file.with_suffix(".compressed.jpg").as_posix())
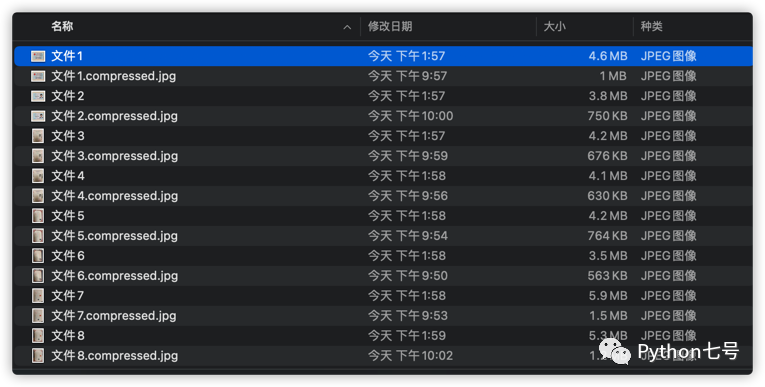
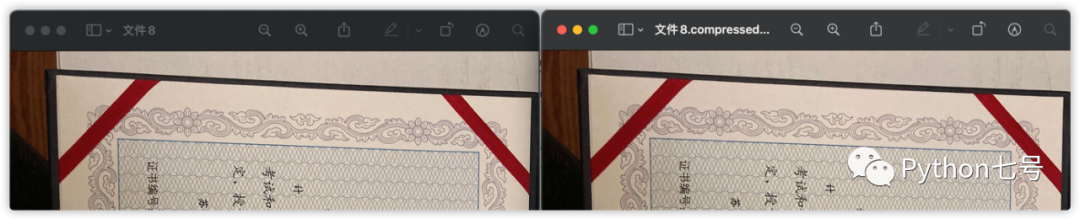
可以看到,壓縮后的文件大小在 1M 左右或 1M 之內,打開文件對比,基本看不出任何區別:
3、刪除圖片的元數據
現在大部分快遞已經可以對地址信息進行加密,大家的隱私保護意識也越來越高,可是一不小心,你隨手發布的照片就可能暴露了你的位置信息。
因此,用戶發布照片時去除照片的位置、設備、時間等隱私信息顯得很有必要,這些信息又叫元數據,也就是 metadata。
Python 刪除圖片的元數據是有一個三方庫 piexif,我使用它刪除后,再用 exiftool 查看時,仍然可以查到許多隱私信息。
也就是說 piexif 刪除的不夠徹底,于是我用 Python 封裝了 exiftool,這下,圖片的元數據可以刪除的干干凈凈。
文件 exif_tool.py 代碼如下:
- import subprocess
- import os
- import json
- from pathlib import Path
- class ExifTool(object):
- sentinel = "{ready}\n"
- #windows
- #sentinel = "{ready}\r\n"
- def __init__(self, executable="/usr/bin/exiftool"):
- exiftool1 = Path("/usr/bin/exiftool")
- exiftool2 = Path("/usr/local/bin/exiftool")
- self.executable = executable
- if exiftool1.exists():
- self.executable = exiftool1.as_posix()
- elif exiftool2.exists():
- self.executable = exiftool2.as_posix()
- else:
- if Path(self.executable).exists():
- pass
- else:
- raise FileNotFoundError(self.executable)
- def __enter__(self):
- self.process = subprocess.Popen(
- [self.executable, "-stay_open", "True", "-@", "-"],
- universal_newlines=True,
- stdin=subprocess.PIPE, stdout=subprocess.PIPE)
- return self
- def __exit__(self, exc_type, exc_value, traceback):
- self.process.stdin.write("-stay_open\nFalse\n")
- self.process.stdin.flush()
- def execute(self, *args):
- args = args + ("-execute\n",)
- self.process.stdin.write(str.join("\n", args))
- self.process.stdin.flush()
- output = ""
- fd = self.process.stdout.fileno()
- while not output.endswith(self.sentinel):
- # output += os.read(fd, 4096).decode('utf-8',errors=)
- output += os.read(fd, 4096).decode('utf-8',"ignore")
- return output[:-len(self.sentinel)]
- def get_metadata(self, *filenames):
- """
- 返回多個文件的 exif 信息
- """
- return json.loads(self.execute("-G", "-j", "-n", *filenames))
- def get_exif_info(self, source_img):
- """
- 返回單個文件的 exif 信息
- """
- return self.get_metadata(source_img)[0]
- def delete_exif_info(self, source_img):
- '''
- 刪除 exif 信息后,返回剩余的 exif 信息
- '''
- self.execute("-all=",source_img)
- metadata = self.get_metadata(source_img)
- return metadata[0]
使用前先確保操作系統已經安裝了 exiftool,程序默認讀取兩個位置:
- /usr/bin/exiftool
- /usr/local/bin/exiftool
也可以自己傳入 exiftool 的執行路徑。
使用舉例:
- from pprint import pprint
- if __name__ == '__main__':
- with ExifTool() as e:
- exif = e.get_exif_info('/Users/aaron/Documents/個人/origin/文件1.jpg')
- pprint(exif)
- exif = e.delete_exif_info('/Users/aaron/Documents/個人/origin/文件1.jpg')
- print("========刪除 exif 信息后========")
- pprint(exif)
大家可以用 piexif 和我這里提供的 exif_tool 做個對比,看看哪個刪除的更徹底,有問題請留言討論。
4、拼接長圖
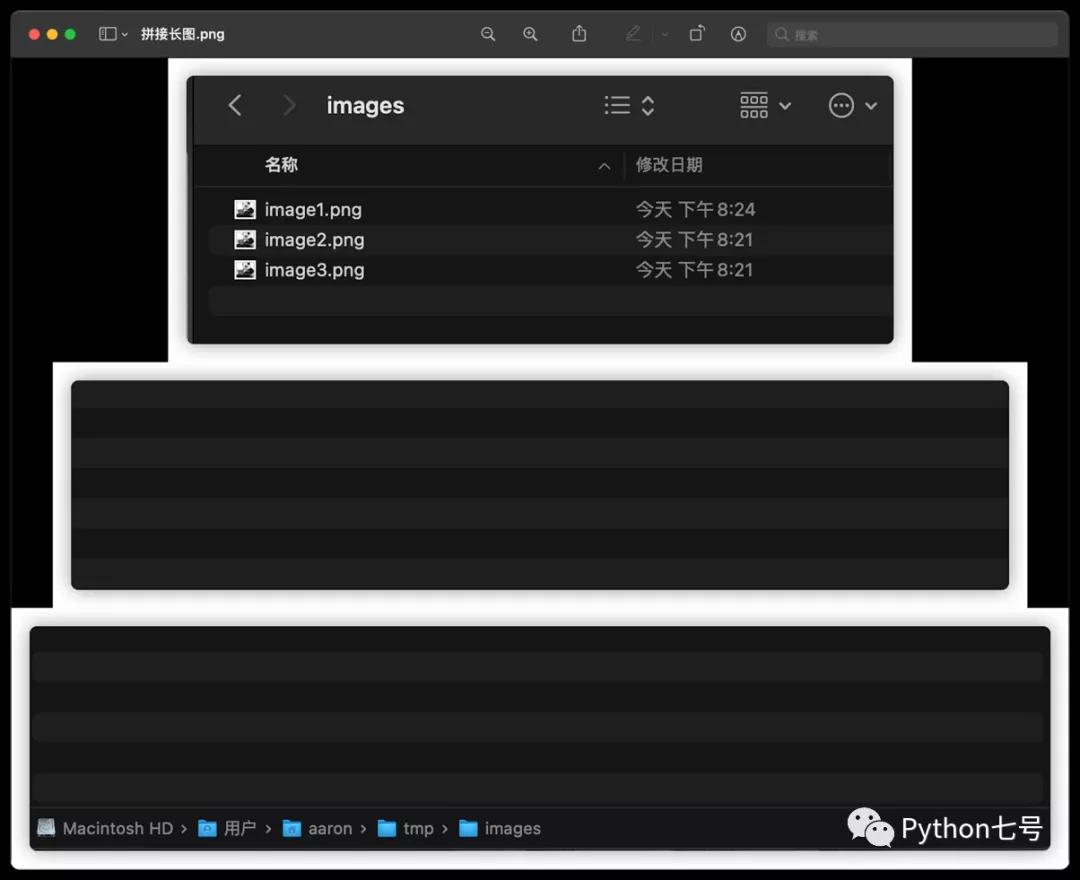
思路也簡單,也把要拼接的圖片放在數組里面,然后計算圖片的最大寬度作為拼接后圖片的寬度,然后一張一張拼接即可。
排版可以選擇靠左對齊,或者水平居中對齊,空白位置的顏色也可以自己定義。
具體代碼如下:
5、如何識別圖片上的文字
這其實就是 OCR 了,非常實用,不過個人很難訓練出優秀的模型,不如直接用大廠的 API。舉個例子,百度云的 AI 產品,你可以在終端下執行這樣一個命令來進行安裝。
- pip install baidu-aip
在這里我使用了百度云提供的在線文字識別產品,提供了 AipOcr 函數實現用戶驗證、client.basicGeneral 函數實現文字識別功能。
代碼如下:
- from aip import AipOcr
- """ 你的 APPID AK SK """
- APP_ID = '你的 App ID'
- API_KEY = '你的 Api Key'
- SECRET_KEY = '你的 Secret Key'
- client = AipOcr(APP_ID, API_KEY, SECRET_KEY)
- """ 讀取圖片 """
- def get_file_content(filePath):
- with open(filePath, 'rb') as fp:
- return fp.read()
- image = get_file_content('example.png')
- """ 調用通用文字識別, 圖片參數為本地圖片 """
- result = client.basicGeneral(image)
- print(result)
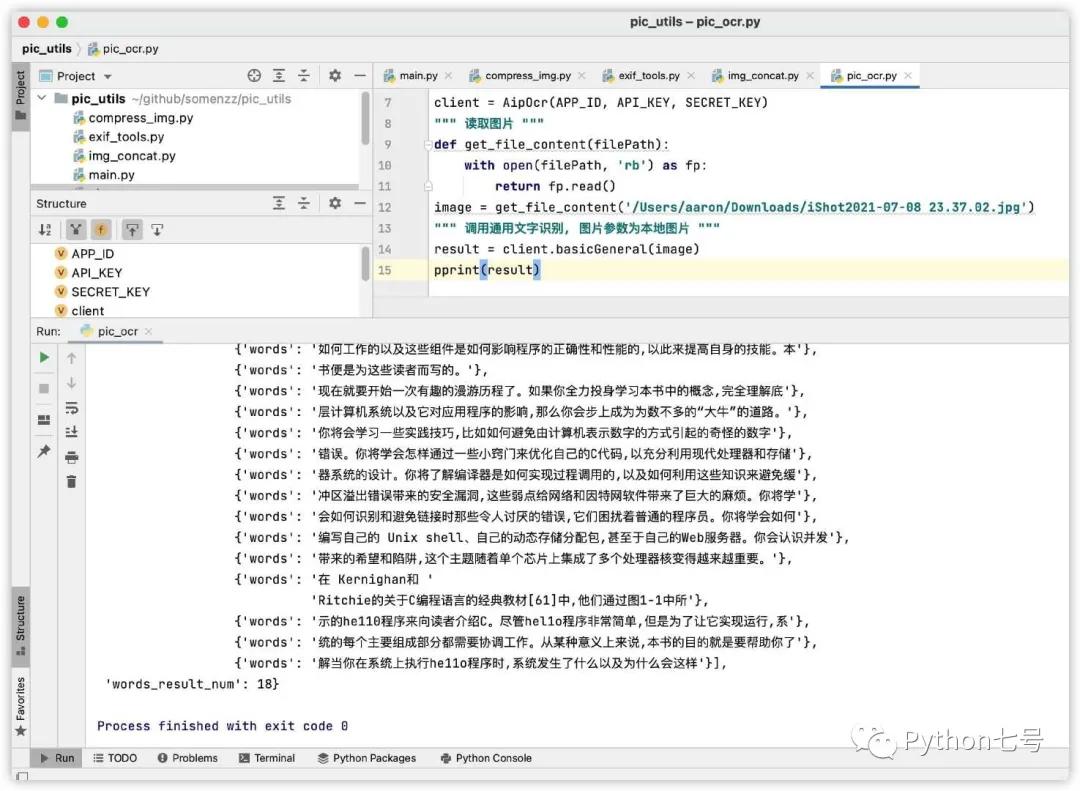
在這段代碼里,實現了三個功能,分別是用戶驗證、讀取圖片和識別圖片。
為了更直觀地看到效果,我這里對著書拍個照片,然后讓它識別一下:
原圖如下:
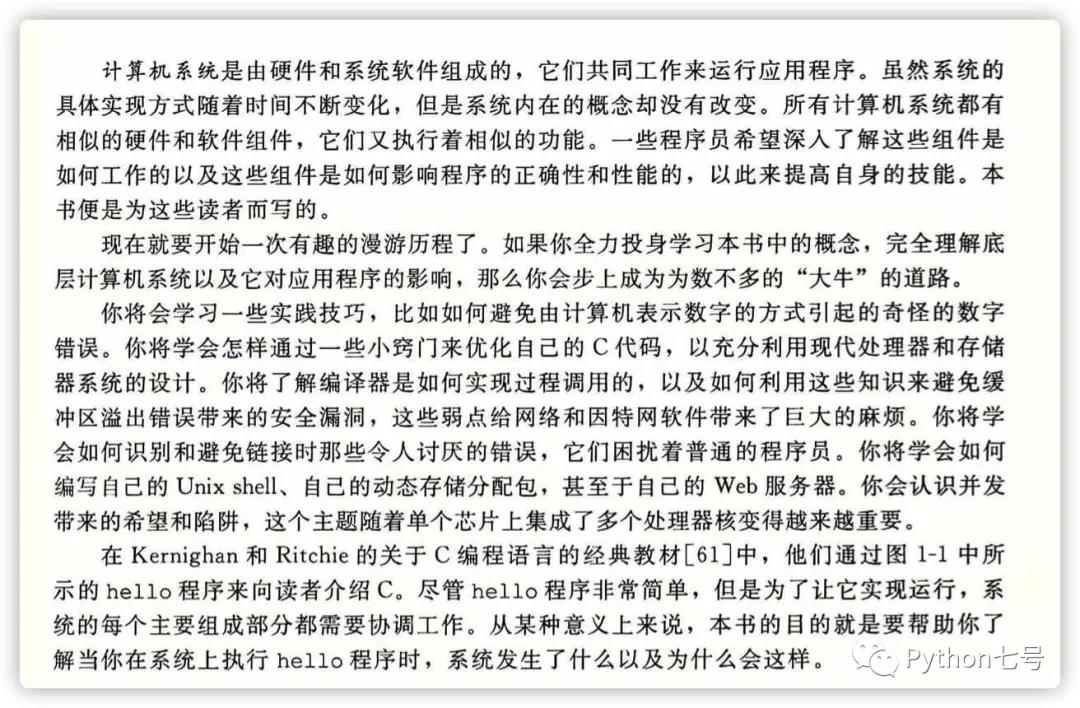
識別結果如下:
6、給圖片加水印
添加自己的水印來防止別人盜圖,也可以宣傳品牌形象,如果要為大量圖片添加文字水印,不妨使用以下方法。
- from PIL import Image, ImageDraw, ImageFont
- def add_text_watermark(img, text):
- img = Image.open(img)
- draw = ImageDraw.Draw(img)
- myfont = ImageFont.truetype('/System/Library/Fonts/PingFang.ttc', size=100)
- fillcolor = "#ff0000"
- width, height = img.size
- draw.text((width - 700, height - 250), text, font=myfont, fill=fillcolor)
- return img
- if __name__ == '__main__':
- image = '/Users/aaron/Documents/個人/IMG_2288.compressed.jpg'
- img1 = add_text_watermark(image,'@Python七號')
- img1.save("result_text_watermark.jpg","jpeg")
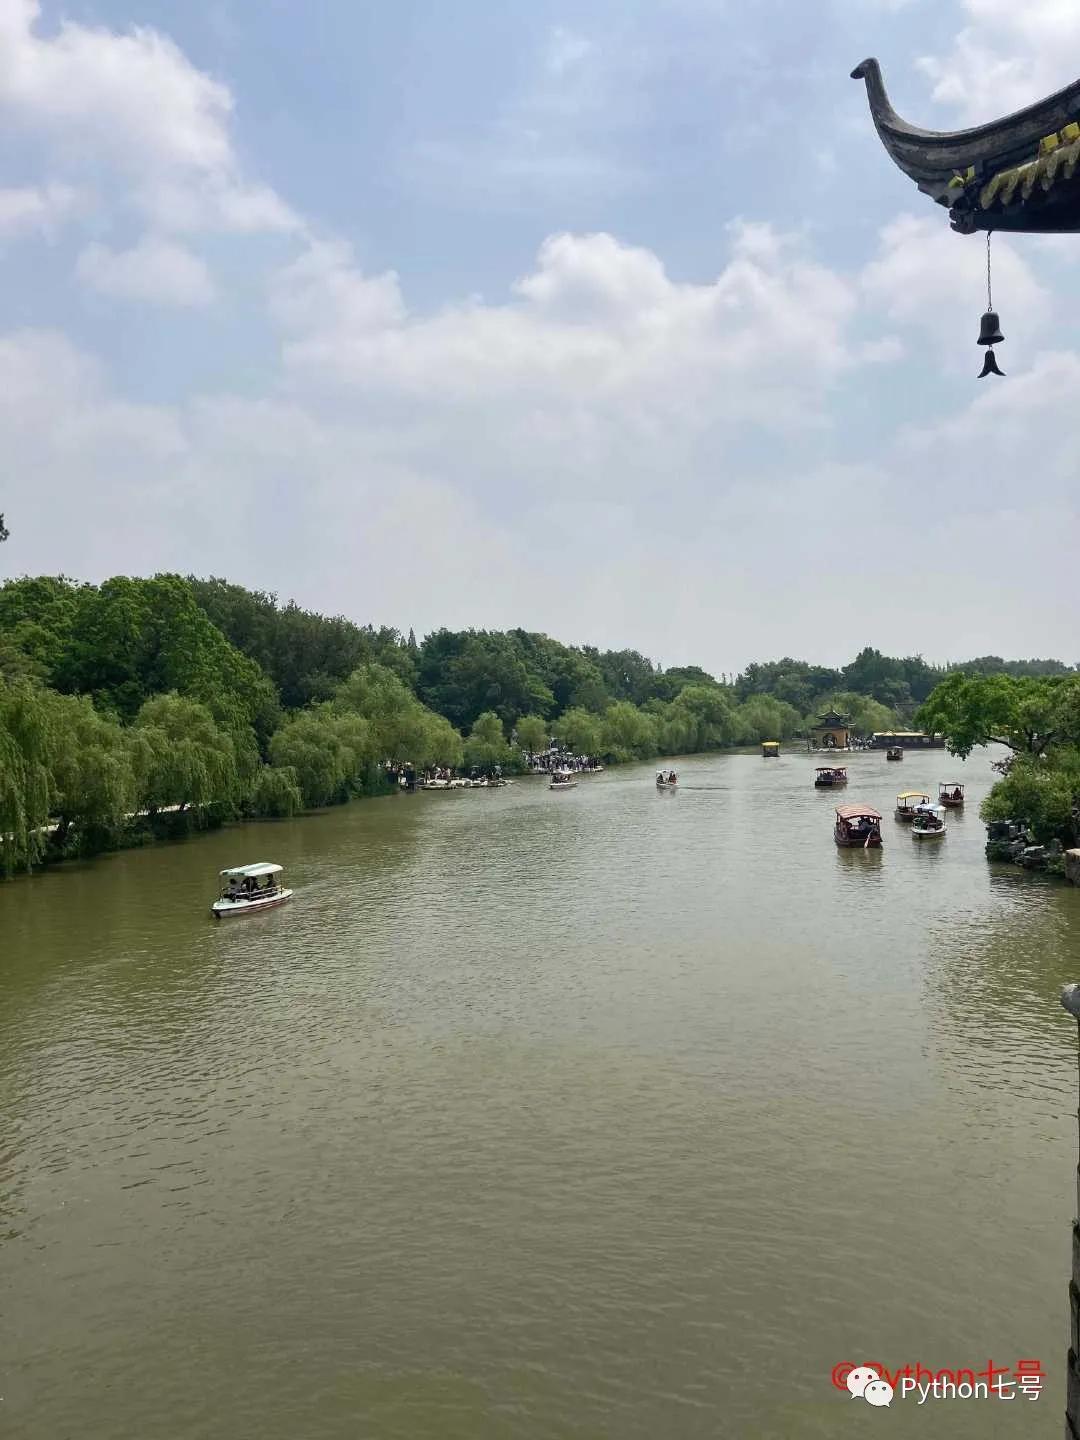
說明 draw.text((width - 700, height - 250), '@Python七號', font=myfont, fill=fillcolor)第一個括號填寫的是位置,左上角的坐標是 (0,0),右下角的坐標是(width,heigth),本例中 (width - 700, height - 250) 相當于是右下角。
效果如下(紅色部分是程序添加的):
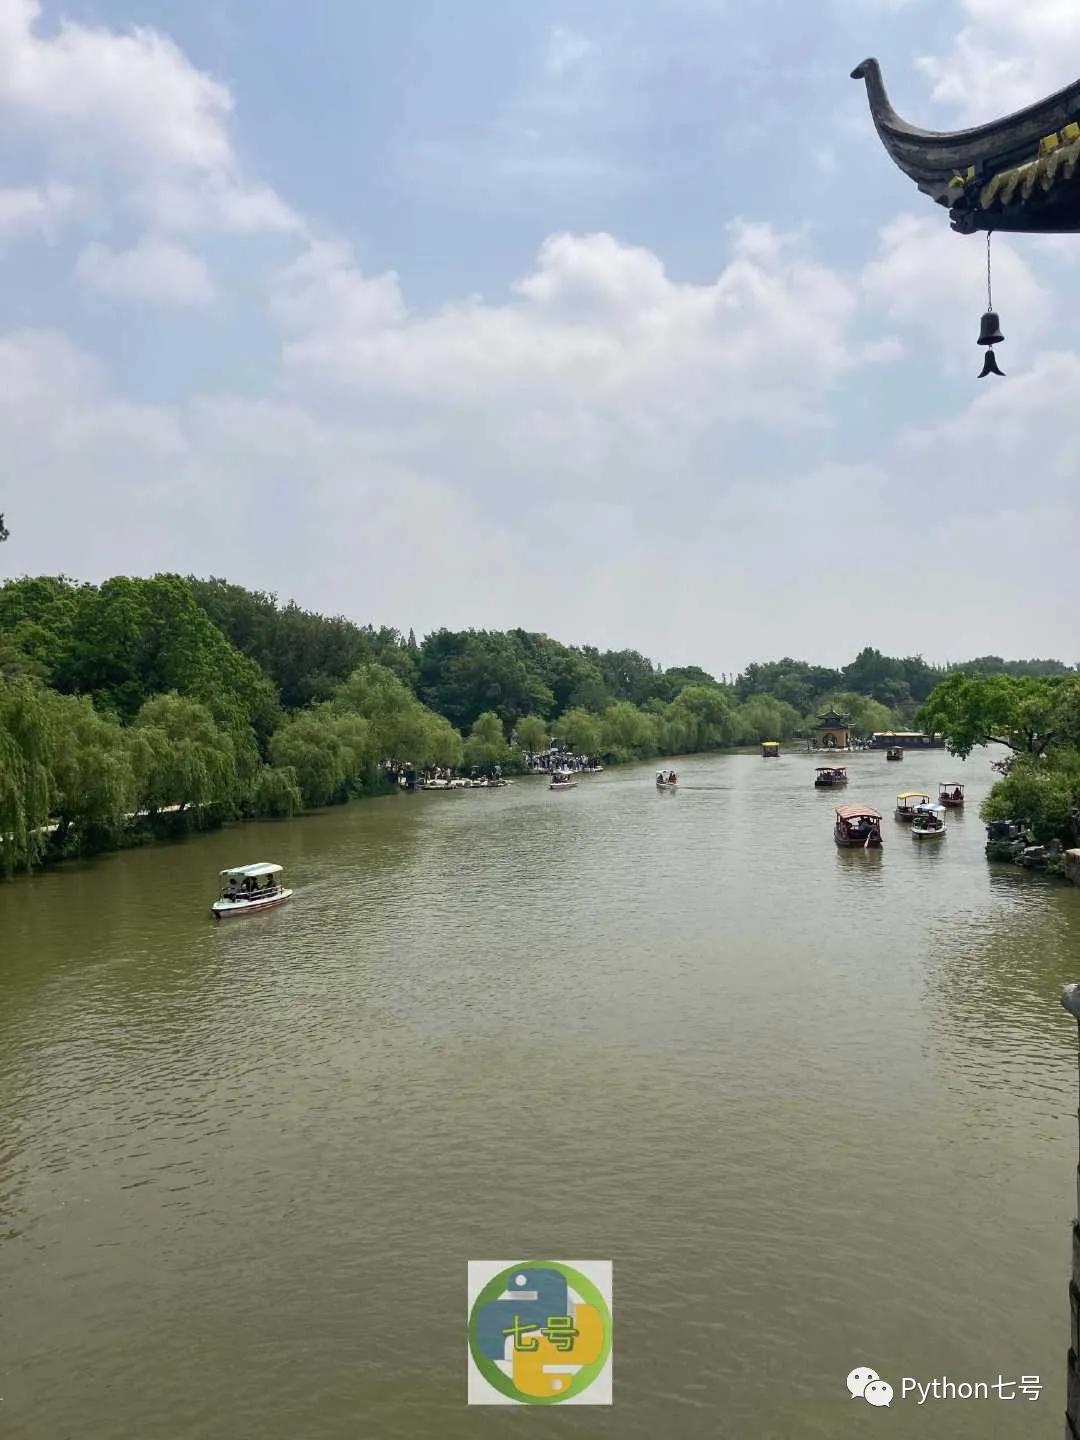
那你可能又問下,如果加圖片水印呢?比如現在有一個 logo 想添加到圖片上,代碼如下:
- from PIL import Image
- def add_img_watermark(img, img_watermark):
- rgba_image = Image.open(img).convert("RGBA")
- rgba_watermark = Image.open(img_watermark).convert("RGBA")
- image_x, image_y = rgba_image.size
- watermark_x, watermark_y = rgba_watermark.size
- # 縮放圖片
- scale = 10
- watermark_scale = max(image_x / (scale * watermark_x), image_y / (scale * watermark_y))
- new_size = (int(watermark_x * watermark_scale), int(watermark_y * watermark_scale))
- rgba_watermark = rgba_watermark.resize(new_size, resample=Image.ANTIALIAS)
- # 透明度
- rgba_watermark_mask = rgba_watermark.convert("L").point(lambda x: min(x, 180))
- rgba_watermark.putalpha(rgba_watermark_mask)
- watermark_x, watermark_y = rgba_watermark.size
- # 水印位置
- rgba_image.paste(rgba_watermark, ( (image_x - watermark_x)//2, image_y - watermark_y-100), rgba_watermark_mask) # 右上角
- return rgba_image.convert("RGB")
- if __name__ == '__main__':
- image = '/Users/aaron/Documents/個人/IMG_2288.compressed.jpg'
- img_watermark = "/Users/aaron/Downloads/IMG_2568.JPG"
- img2 = add_img_watermark(image, img_watermark)
- img2.save("result_img_watermark.jpg")
效果如下圖所示:
最后的話
圖片是我們接觸最多的媒體文件了,這里分享了 6 種關于圖片的實用操作,需要的可以直接復制這里的代碼使用。