如何在Gitee上發布OpenHarmony應用第三方庫

npm是js的包管理器,通過npm我們可以來管理OpenHarmony第三方庫。
這里以eTS組件為例:
創建本地組件
IDE:DevEco Studio 3.0.0.900。
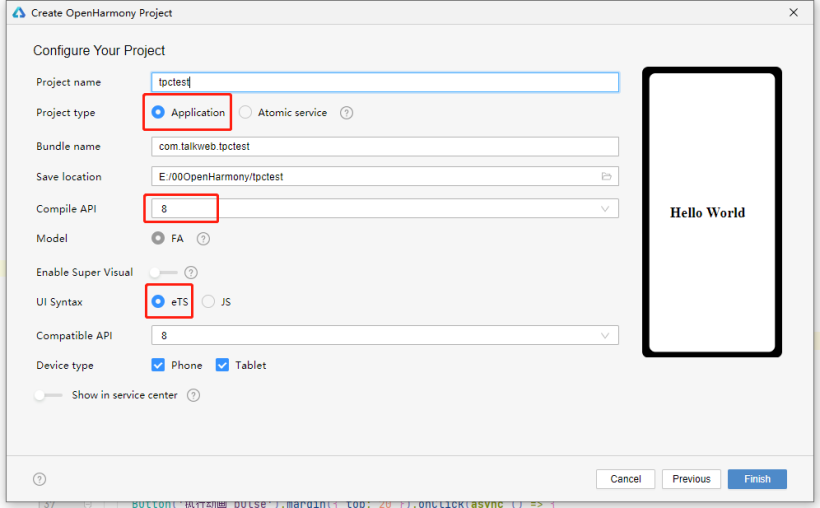
首先我們新建項目。
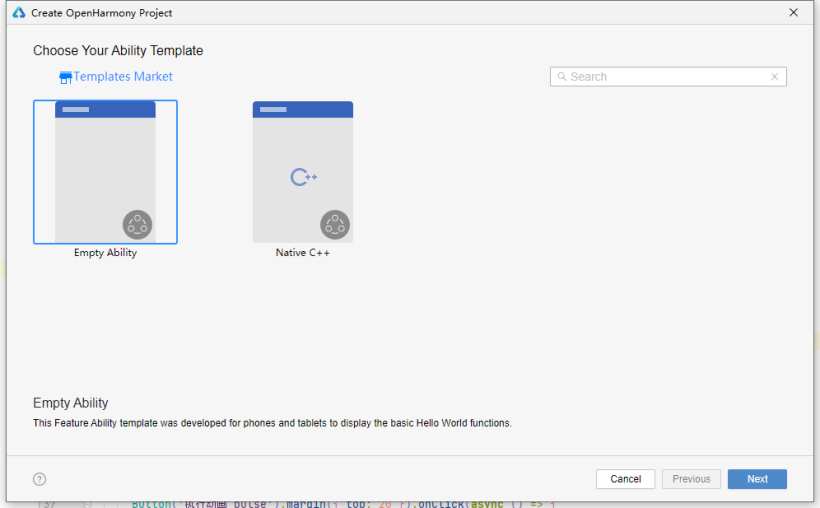
選擇API 8,eTS。
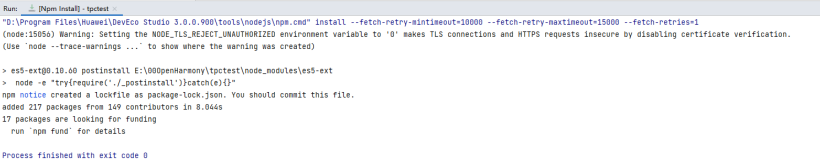
等待項目完成。
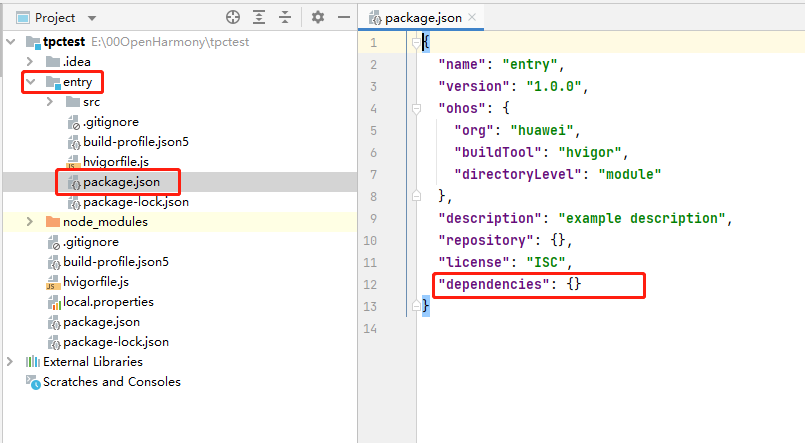
我們可以看到在entry目錄下,有個package.json文件,我們的第三方庫都是會使用npm命令安裝在entry下。
接下來我們要創建自己的第三方組件了,我們新建一個module。
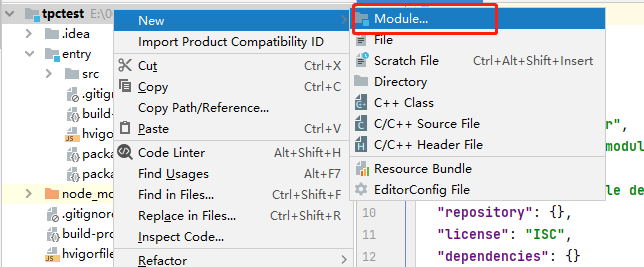
選擇Ohos Library。

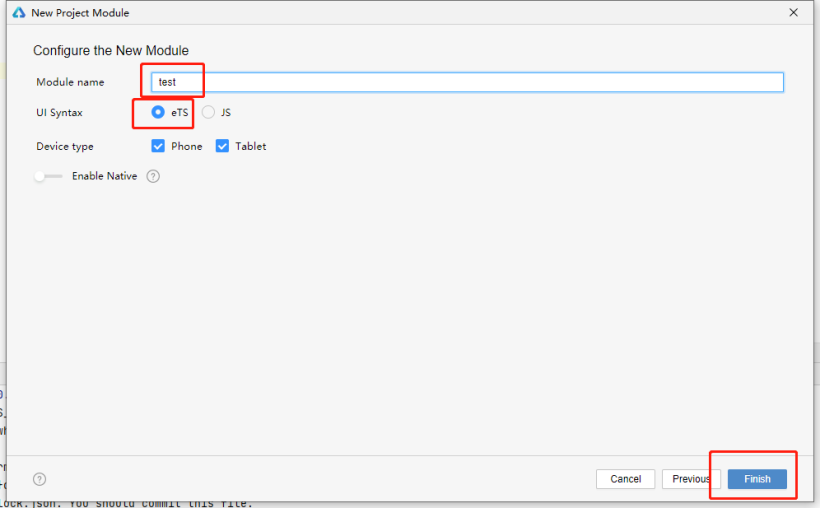
給module起個名字,這里我就叫test了,選擇eTS,Finish。
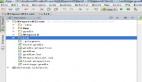
我們可以看到在新的module下面有個index.ets文件,用來導出我們的組件。
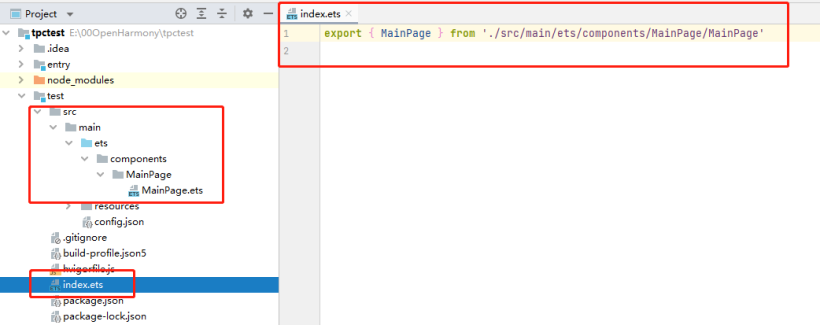
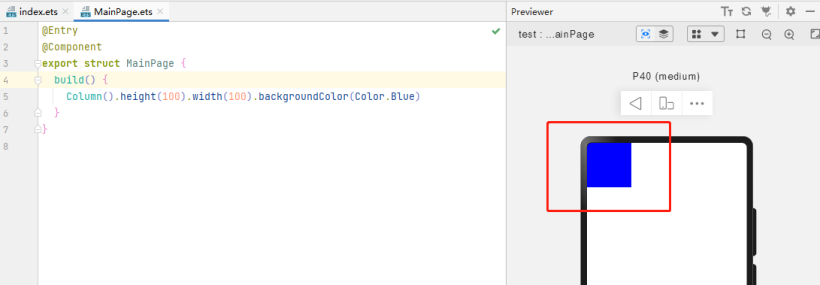
這里我重新寫了下MainPage.ets組件,組件可以使用Previewer進行預覽。
@Entry
@Component
export struct MainPage {
  build() {
    Column().height(100).width(100).backgroundColor(Color.Blue)
  }
}
我們的組件是一個100X100的藍色小塊。
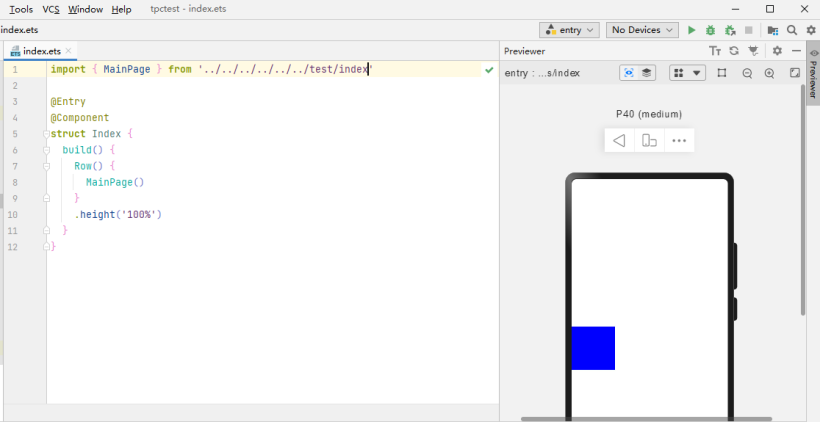
怎么使用我們本地的這個組件呢?我們在entry/src/main/ets/MainAbility/pages/index.ets文件中。
import { MainPage } from '../../../../../../test/index'

// 也可以使用 import { MainPage } from 'test/index'
// 也可以正常預覽,但是會報錯,建議還是采取相對路徑形式

@Entry
@Component
struct Index {
  build() {
    Row() {
      // 我們的組件
      MainPage()
    }
    .height('100%')
  }
}
看看效果,組件可以正常使用。
接下來就是發布這個組件了。
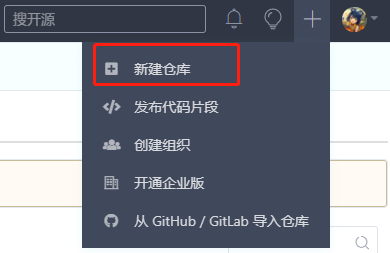
創建Gitee項目
登錄我們的Gitee,新建倉庫用來發布我們的組件。
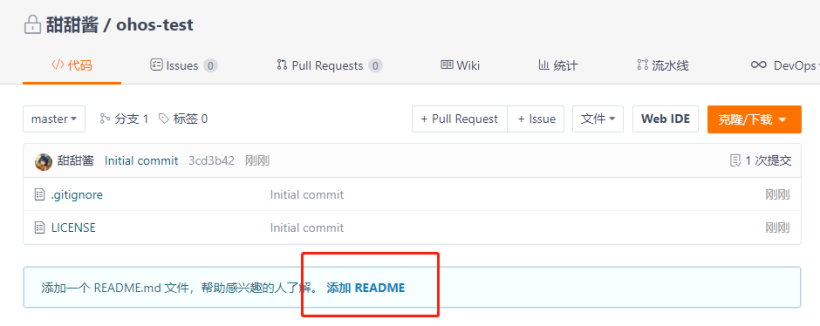
初始化倉庫。
不需要添加.gitignore,如果添加了請刪掉。
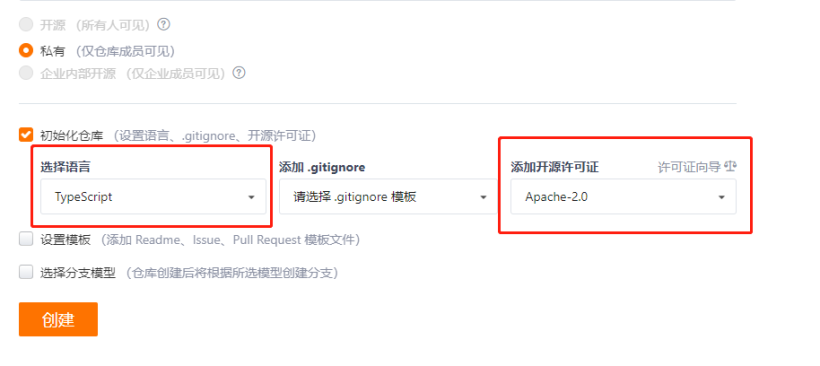
添加README文件。
初始倉庫都是私有的,我們需要進入管理頁面。
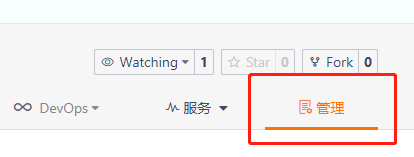
將倉庫設為開源。

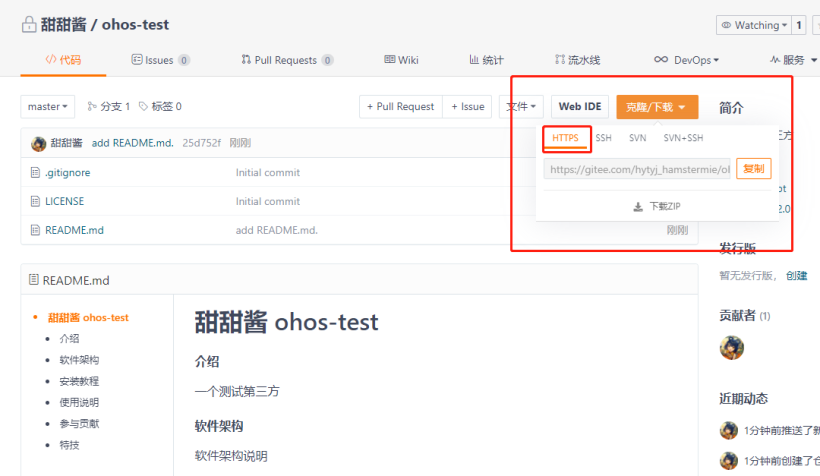
獲取倉庫地址,這里我的地址是https://gitee.com/hytyj_hamstermie/ohos-test.git。
發布組件到Gitee
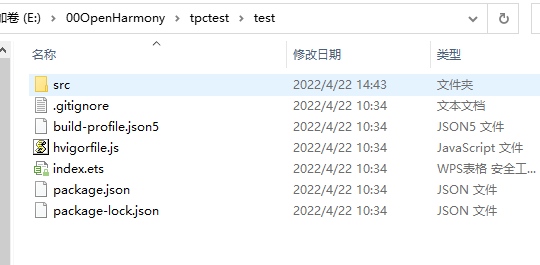
進入我們test modules目錄,這就是我們需要發布的內容。
我們首先需要修改我們的package.json。
{
  "name": "@ohos/test",
  # 添加作者
  "author": "talkweb_tiantianjiang",
  # 自己可以修改描述
  "description": "a npm package which contains arkUI2.0 page",
  "ohos": {
    "org": ""
  },
  # 這里是第一個版本所以是1.0.0
  "version": "1.0.0",
  "main": "index.ets",
  "types": "",
  # 這里是我們的Gitee庫地址
  "repository": {
    "type": "git",
    "url": "https://gitee.com/hytyj_hamstermie/ohos-test.git"
  },
  # license保持與Gitee庫一致
  "license": "Apache License 2.0",
  "dependencies": {}
}
接下來我們在這個目錄下直接新建git倉庫。
推薦Git Bash與TortoiseGit。
TortoiseGit真的很方便。
右鍵Git Bash Here。
執行命令:
$ git init
關聯gitee倉:
$ git remote add origin https://gitee.com/hytyj_hamstermie/ohos-test.git
將所有文件添加至緩存區。
$ git add .
第一次強制拉取遠程倉master分支。
$ git pull origin master --allow-unrelated-histories
提交我們的代碼到緩存區。
$ git commit -m '第一次版本提交'
可以看到我們本地有一個master分支。
$ git branch
* master
發布我們的代碼到gitee倉master分支。
$ git push origin master
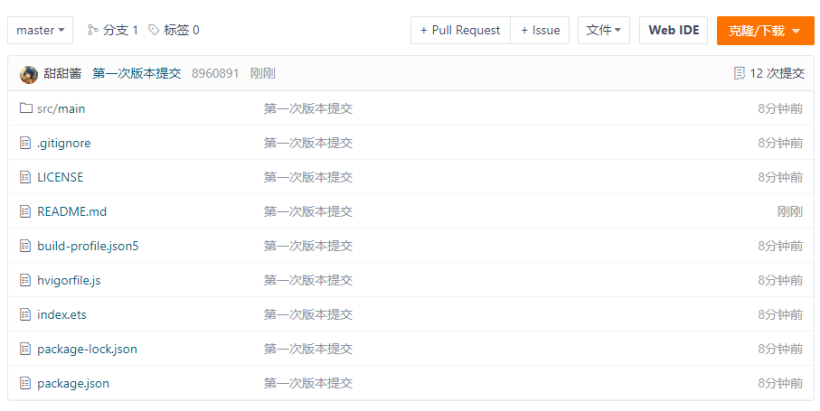
NPM本地安裝組件
請不要在DevEco IDE中添加第三方庫。
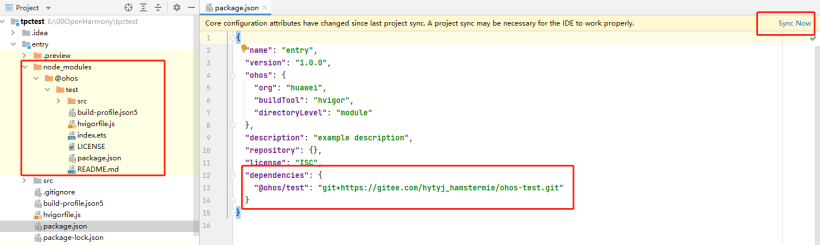
命令行進入項目entry目錄,執行npm命令:
npm install git+https://gitee.com/hytyj_hamstermie/ohos-test.git

在IDE中可以查看到變化,點擊Sync Now。
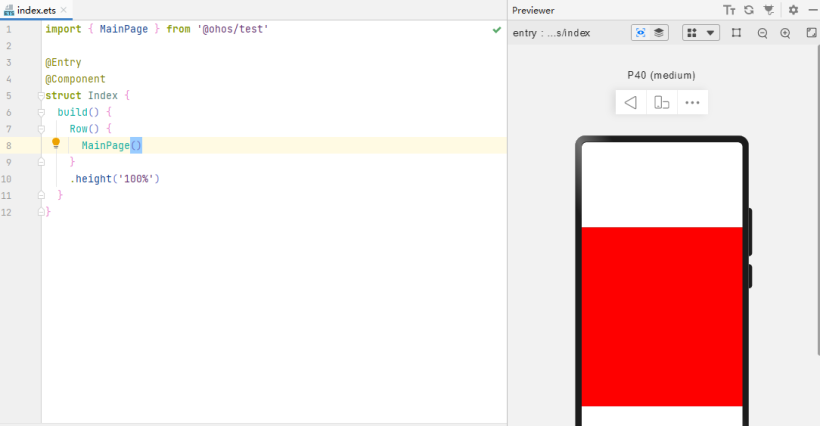
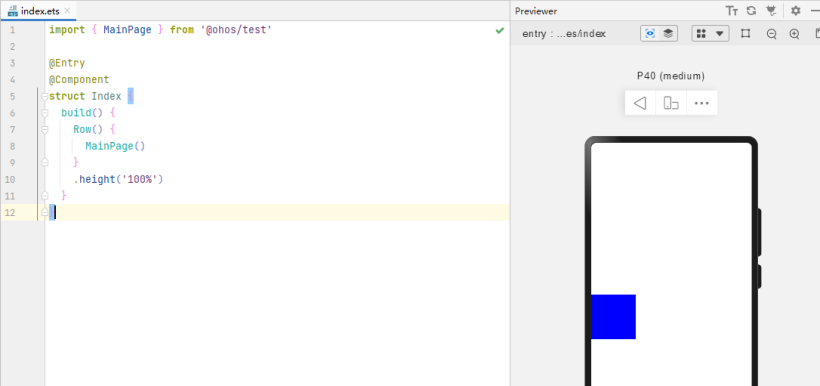
我們在entry/src/main/ets/MainAbility/pages/index.ets文件中修改組件的引用路徑。
import { MainPage } from '@ohos/test'
@Entry
@Component
struct Index {
  build() {
    Row() {
      MainPage()
    }
    .height('100%')
  }
}
復制重啟previewer可以查看到組件已經可以使用了。
新IDE有點問題,若無法顯示或者無法看到更新內容:
1、刪除.preview文件夾后,重啟previewer。
2、重啟IDE。
組件版本管理
這里為了展示我先建立兩個版本分支。
- 1.0.0
- 1.0.1
# 新建并切換分支1.0.0
$ git checkout -b 1.0.0
# 提交1.0.0分支
$ git push origin 1.0.0
# 新建并切換分支1.0.1
$ git checkout -b 1.0.1
我們修改分支1.0.1下的內容:
package.json:
{
"version": "1.0.1",
}entry/src/main/ets/MainAbility/pages/index.ets。
把方塊改成紅色400X400。
@Entry
@Component
export struct MainPage {
  build() {
    Column().height(400).width(400).backgroundColor(Color.Red)
  }
}
提交分支。
$ git commit -am "版本1.0.1"
$ git push origin 1.0.1
在Gitee上可以看到兩個分支。
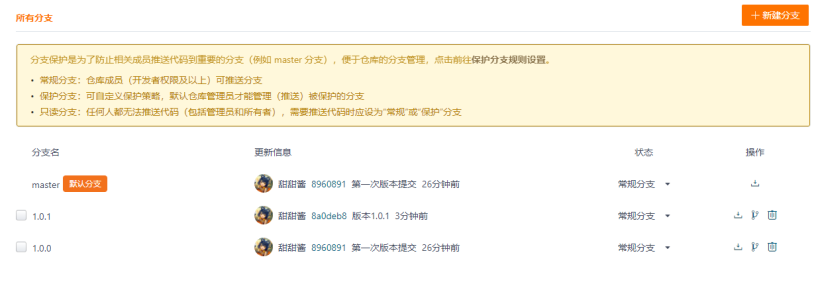
接下來我們來安裝1.0.1版本的組件。
npm install git+https://gitee.com/hytyj_hamstermie/ohos-test.git#1.0.1

刪除.preview文件,后重啟previewer。